


Monday, Oct 13, 2025
Budget Kitchen Renovation Guide for Starters (Save $2K+)
Most budget kitchen renovations go over budget by $1,500-3,000 because homeowners change the wrong things. They move plumbing that works fine, rip out functional layouts, and replace appliances that still have years left. Then they realize they should have just let some things be. Don’t be those homeowners.
Successful renovations follow one simple rule: change what's broken, improve what’s alright, and never touch plumbing unless you absolutely have to.
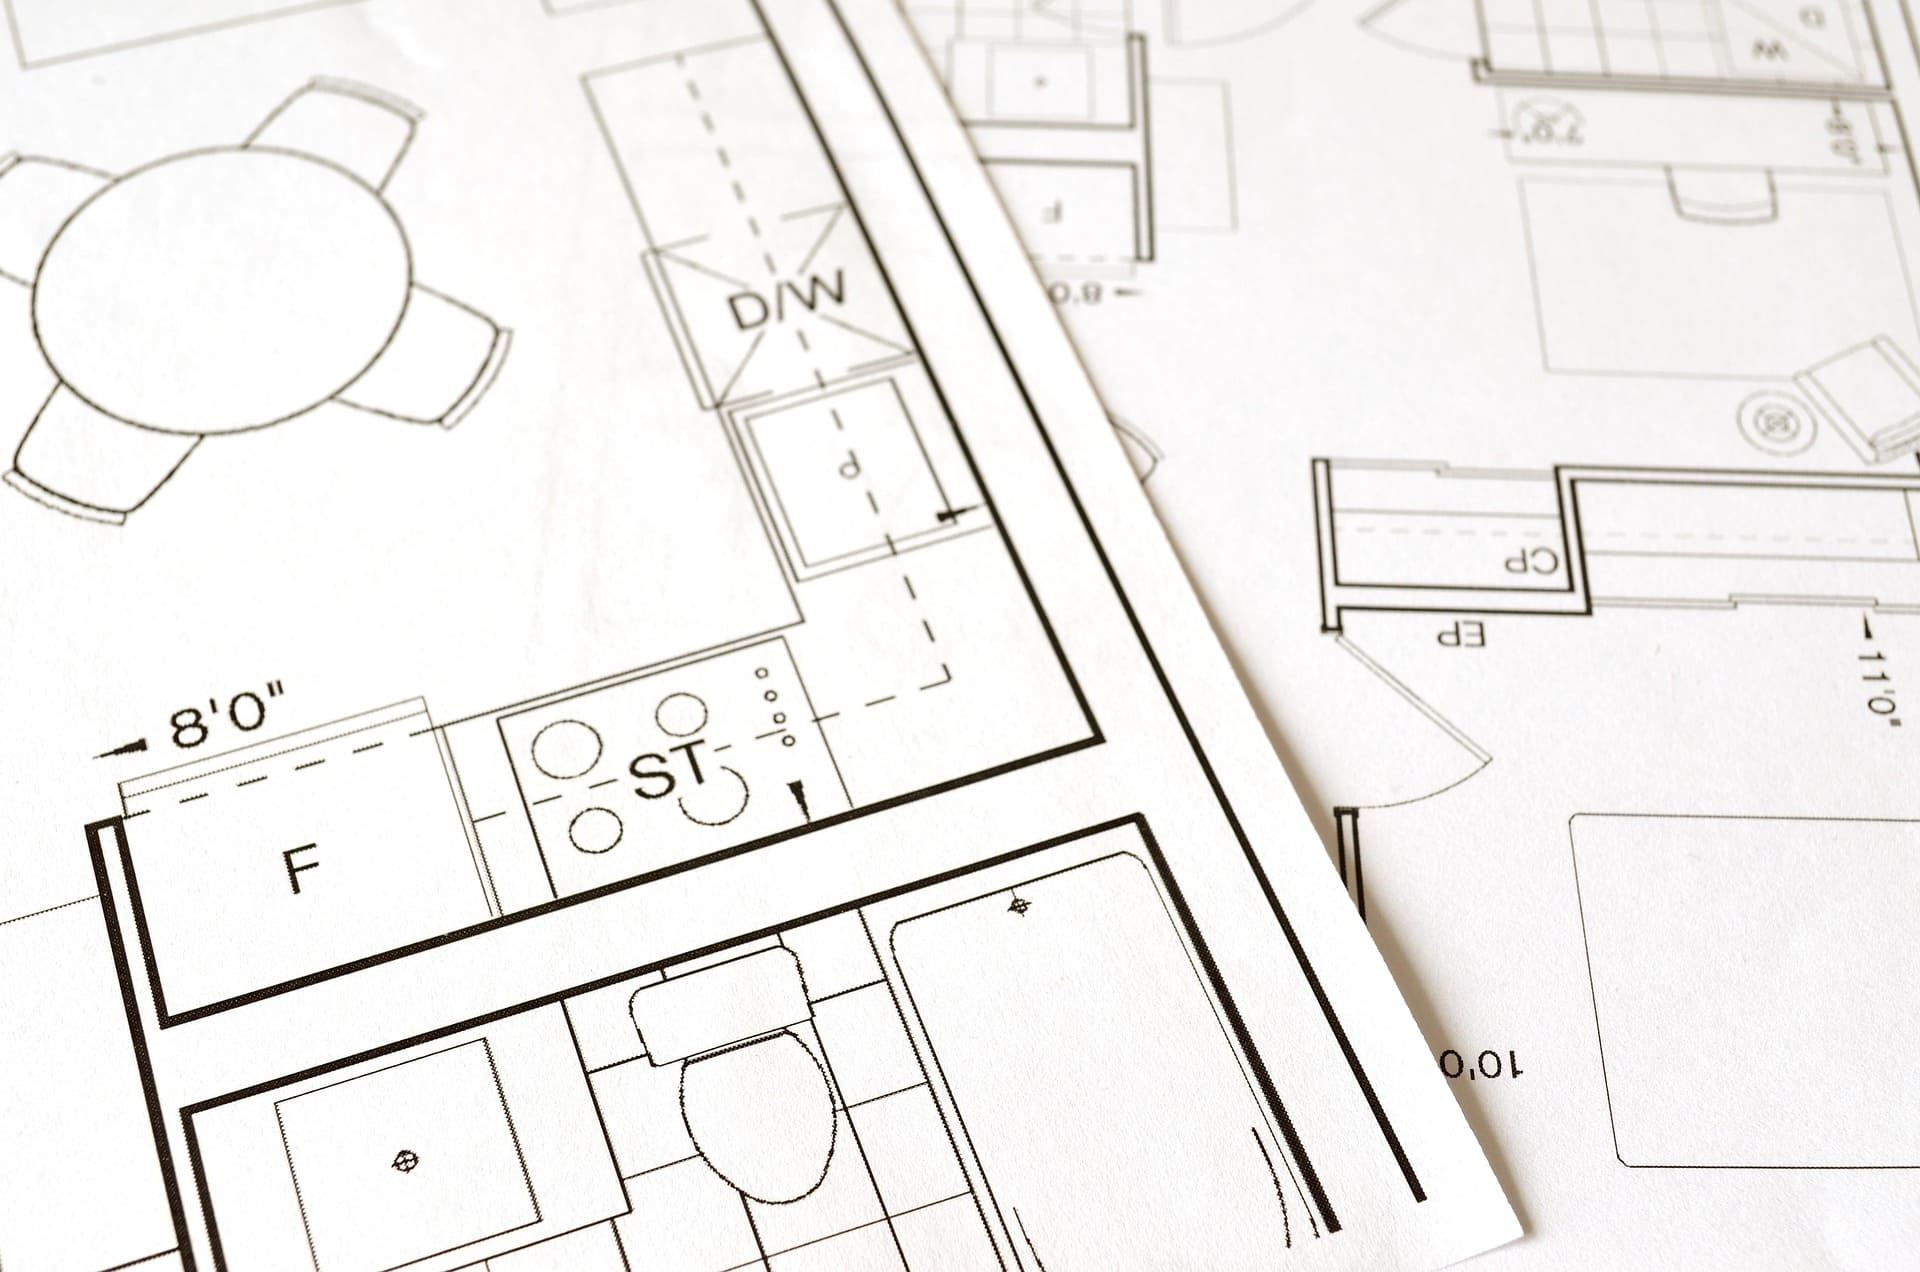
See our proven kitchen layouts before planning your renovation here.
Or get exact dimensions for 30 different kitchen floor plans here.
Ask These Three Questions First
Before you demolish anything or order a single cabinet, ask yourself:
- Can you move comfortably between your sink, stove, and fridge? If you have reasonable counter space at each spot and the walking path makes sense, your layout works. Focus your money and effort elsewhere.
- Do you have enough clearance? You need at least 36 inches for walkways and 30 inches in front of appliances. If your oven door opens fully and you're not constantly bumping into things, your footprint is fine.
- Is your plumbing in a logical spot? If your sink sits on a plumbed wall with counter space on both sides, and your dishwasher is next to it, don't move them. Design your new kitchen around these fixed points.
If you answered yes to all three, you need a cosmetic update, not an overhaul. You'll save roughly $8,000-15,000 by keeping the bones and refreshing the surfaces.
Layout Changes Worth the Money

Moving Plumbing: ~$1,500-3,000 Per Fixture
When it makes sense:
Your sink is crammed in a corner with no counter space on either side. Your dishwasher sits across the room, so you're carrying dripping dishes across every time. Fixing this makes sense if your current setup makes cooking quite difficult, and you can't reach all three appliances without walking around obstacles.
According to kitchen design research, only about 20% of tiny kitchens actually need plumbing moved. The other 80% get better results by redesigning cabinets around what's already there.
When it's a waste:
Your sink location is decent but not perfect. You want it under the window because it looks nice. You're chasing a "better" work triangle that's only a teeny bit more efficient.
What it costs:
- Plumber labor: ~$800-1,200
- Opening and fixing walls/floors: ~$400-800
- Materials and permits: ~$300-500
Total per fixture: ~$1,500-3,000 (typical U.S. rates)
Removing a Wall: ~$3,000-8,000
When it makes sense:
Your tiny kitchen sits in a dark, closed-off space with no natural light, and the layout makes you feel boxed in. You can remove a wall if you're willing to lose some storage for the mental benefit of seeing into your living room.
Various kitchen remodeling data show that wall removal increases how big your kitchen feels by roughly 25-35%, but you'll lose about 15-20% of storage. That trade-off works if openness matters more to you than cabinet space.
When it's a waste:
Your kitchen already gets decent light, you like open-concept designs on Instagram but secretly prefer hiding your cooking mess, and the wall is load-bearing (which bumps costs to ~$6,000-12,000).
What it costs (non-load-bearing):
- Demo and cleanup: ~$1,500-2,500
- Structural work and permits: ~$1,000-2,000
- Drywall repair and paint: ~$500-1,500
Total: ~$3,000-8,000
What it costs (load-bearing): Add another ~$3,000-8,000 for the beam and structural support.
Adding Outlets: ~$150-300 Each
When it makes sense:
You're constantly unplugging your toaster to plug in your coffee maker, extension cords run across your counters, you have two outlets for a 70-square-foot kitchen, and you just blocked the most accessible outlet.
U.S. building codes require outlets every 4 feet along counters, but small kitchens usually need more since every surface does multiple jobs.
When it's a waste:
Your current outlets work fine. You're adding extras just in case for appliances you don't own. A good power strip would solve your problem for $25.
What it costs:
- Electrician labor: ~$100-150
- Materials: ~$30-50
- Permits (if needed): ~$20-100
Total per outlet: ~$150-300
Expanding Your Kitchen: ~$5,000-15,000
When it makes sense:
Almost never. (Bet you didn’t expect that).
Small kitchens have their own merit, too. Stealing space from the hallway costs $10,000-15,000 and rarely makes that much difference. You'll get better results spending that money on smart layout, quality materials, and clever storage.
The rare exception:
You're borrowing 12-18 inches from an oversized closet to add critical counter space, the closet serves no real purpose, and the work is straightforward (nothing structural).
Upgrades That Transform Your Kitchen

These changes make huge visual and functional differences without touching your layout.
Painting or Refacing Cabinets: ~$2,000-5,000

What you're doing:
- Removing cabinet doors and drawer fronts, replacing them with new ones, or painting them to update the look.
- Adding a new veneer to the cabinet boxes.
- Installing fresh hardware.
The impact:
Your kitchen looks completely different. Cabinet painting delivers about 85-90% of the impact of new cabinets at roughly 40-50% of the cost.
When to paint instead of replace:
Your cabinet boxes are solid wood and sturdy, you don't need to change the layout, or you're updating dated finishes (think golden oak or dark cherry) to modern colors (white, gray, natural wood).
When to replace entirely:
The boxes are falling apart, your doors don't close properly, or you need different sizes or specialized storage that your current cabinets can't handle.
What it costs:
- DIY painting: ~$200-500 for supplies (plus your weekend)
- Professional painting: ~$2,000-3,500
- Full refacing with new doors: ~$3,500-5,000
New Countertops: ~$1,500-4,000

The impact:
This upgrades your entire kitchen's look and gives you a clean, modern work surface. Light-colored quartz makes the biggest difference in small kitchen spaces as it bounces light around and makes everything feel more open.
What it costs (for a typical 70 sq ft kitchen):
- Laminate: ~$400-800
- Butcher block: ~$800-1,500
- Quartz: ~$1,500-2,500
- Granite: ~$1,800-3,000
- Marble: ~$2,000-4,000
Smart choice for small kitchens:
Go with quartz in soft white or pale gray. It reflects light, resists stains, and needs very little to no maintenance. Butcher block adds warmth but needs monthly oiling. Skip dark granite or marble (they often make kitchens feel smaller and cost more; they’re more of a luxury thing).
Installing a Backsplash: ~$800-2,500
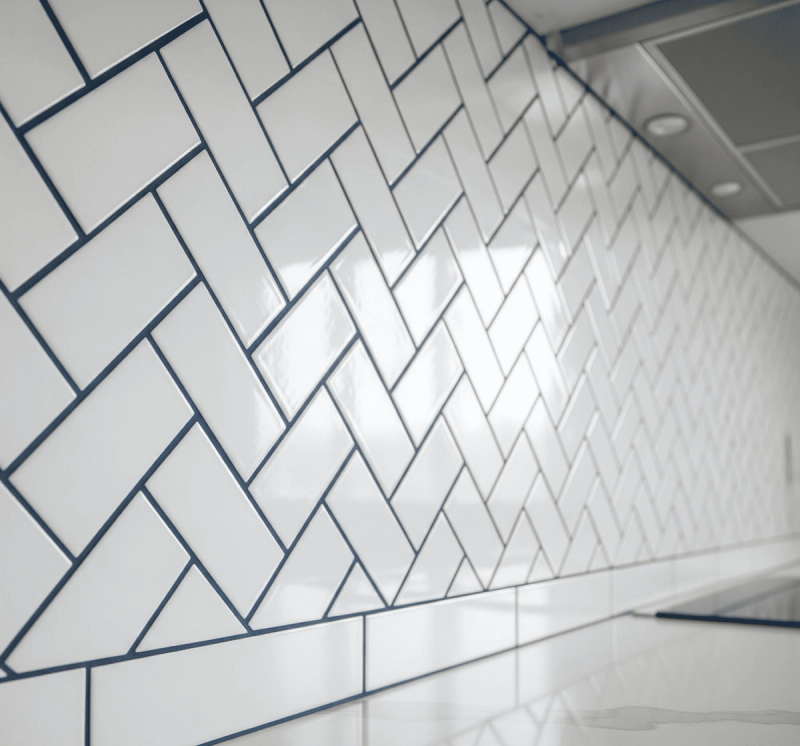
The impact:
Kitchen backsplash adds personality and creates a focal point. In a 60-square-foot kitchen, you're only tiling 15-25 square feet, so premium materials become affordable. This is where you can splurge on design.
What it costs (for a typical 20 sq ft):
- Subway tile: ~$600-1,200 (materials + labor)
- Peel-and-stick: ~$100-200 (DIY materials only)
- Glass tile: ~$800-1,500
- Decorative cement tile: ~$1,200-2,500
Smart strategy:
Subway tile stays timeless and affordable. Peel-and-stick works great for renters—modern versions look surprisingly good. Save fancy tiles for a small accent area behind your stove to control costs while adding personality.
Under-Cabinet Lighting: ~$300-800

The impact:
This upgrade delivers some serious improvements for the cost. Placing LED strips under your upper cabinets light up your work surfaces and creates depth. In kitchens without much natural light, this single upgrade makes the space feel 30% larger by eliminating shadows.
What it costs:
- Plug-in LED strips: ~$100-200 (easy DIY)
- Hardwired LED strips: ~$500-900 (cleaner look, but needs an electrician)
- Puck lights: ~$350-700
Smart choice:
LED strips give even, shadow-free light. You’d want to pick warm white (2700-3000K) for residential kitchens (cool white feels like a hospital). Hardwiring looks cleaner, but plug-in strips work perfectly if you have outlets nearby.
New Hardware: ~$150-400

The impact:
This small detail often causes a big difference. New pulls and knobs update your entire kitchen for a minimal budget. It’s great with painted cabinets (new hardware gives that "complete renovation" vibe).
What it costs:
- Budget hardware: ~$40-150 (20-30 pieces at $2-5 each)
- Mid-range hardware: ~$100-360 (20-30 pieces at $5-12 each)
- Premium hardware: ~$300-900 (20-30 pieces at $15-30 each)
Smart choice for small kitchens:
Keep the pulls under 4 inches so they don't catch on your clothes. Brushed nickel and matte black stay timeless. Also, skip trendy finishes (rose gold, brass) unless you're fine replacing them in 5 years.
Upgrades Worth Splurging On

Some things cost more but dramatically improve your daily life. These few make the list.
Quality Faucet: ~$250-600
Why it matters:
You use your faucet dozens of times daily. A good pull-down sprayer with a pause function improves your efficiency and makes kitchen time more enjoyable.
Kitchen designers consistently rank faucet upgrades among the most satisfying improvements, and some quality models can last 15-20 years versus 3-5 years for the builder-grade.
What to look for:
- Pull-down sprayer
- Solid brass construction (not plastic)
- Ceramic disc valves (last longer)
- Magnetic docking (sprayer snaps back firmly)
- Pause button on the sprayer head.
What it costs:
- Basic builder-grade: ~$75-150 (lasts 3-5 years, frequent repairs)
- Quality mid-range: ~$250-400 (lasts 10-15 years, reliable)
- Premium: ~$500-800 (lasts 15-20+ years, best function)
Smart Cabinet Pull-Outs: ~$150-400 Each
Why they matter:
These turn unused spaces into easy storage. A pull-out pantry in a 6-inch gap stores 40+ small items. A corner lazy Susan eliminates dead space in L-shaped and U-shaped kitchens.
From what we know, pull-out mechanisms increase usable capacity by a lot compared to fixed shelves in the same cabinet.
Best investments:
- Pull-out pantry (6-12" gap): ~$250-400, holds 40-60 items vertically
- Corner lazy Susan: ~$200-350, makes corners fully accessible
- Spice pull-out (3-6" gap): ~$150-250, holds 30-50 jars
- Under-sink pull-out: ~$120-200, organizes cleaning supplies
- Pull-out trash: ~$180-300, hides bins with easy access
Better Range Hood: ~$400-1,200
Why it matters:
Cheap hoods are loud and useless. A quality hood with proper CFM rating (250-400 for small kitchens) removes cooking smells and moisture before they spread. In studio apartments where your kitchen and bed share one room, this can prevent your entire place from smelling like last night's dinner.
What to look for:
- Proper CFM rating (250-400 for smaller kitchens)
- Ducted exhaust if possible (way more effective than recirculating)
- Sound rating under 3 sones (quiet operation)
- LED lighting
- Quality construction.
What it costs:
- Basic recirculating: ~$100-200 (loud, ineffective, constant filter replacement)
- Quality ducted: ~$400-800 (quiet, effective, long-lasting)
- Premium ducted: ~$800-1,500 (whisper-quiet, exceptional)
Mistakes That Waste Money

Moving Appliances for Looks, Not Function
The mistake: Centering your range on the wall for symmetry when the offset position works better or moving your fridge to the opposite wall because it "looks better" on some photo from Pinterest.
Why it’s bad for your wallet: Moving gas lines runs ~$800-1,500. Relocating 220V circuits costs ~$400-800. These changes rarely improve function, and you're just rearranging a working layout to match Pinterest.
The better approach: Design your cabinetry to make your current appliance positions look well-planned. Use filler panels for balanced proportions, and add decorative elements that draw eyes away from asymmetry.
Ripping Out Cabinets That Just Need Refreshing
The mistake: Removing perfectly solid cabinets because the finish is dated or the color is no longer trendy, or replacing entire boxes when only doors need updating.
Why it’s bad for your wallet: New cabinets run ~$5,000-15,000 in tiny kitchens. Painting or refacing costs ~$2,000-5,000 and delivers 80% of the visual improvement. You're spending $3,000-10,000 extra for little gain.
The better approach: Paint or reface the cabinet boxes, only replace the doors and fronts. Add new hardware, updating one element at a time instead of gutting everything.
Installing Oversized Appliances
The mistake: Choosing a 36-inch fridge when a 30-inch model gives you plenty of capacity. Installing a 30-inch range with six burners when a 24-inch range with four burners serves your cooking style perfectly.
Why it’s bad for your wallet: Oversized appliances eat precious counter landing space and reduce clearances. What’s worse? They cost $400-800 more than right-sized models.
The better approach: Size appliances for your needs and style. A 24-inch fridge serves 1-2 people perfectly, and a 24-inch range gives most home cooks everything they need. The counter space you gain delivers more value.
Following Trends Over Your Lifestyle
The mistake: Installing open shelving because it's trendy, even though you hate visible storage. (We know a few of you are guilty of this). Choosing a farmhouse sink because it's beautiful, even though it eats up a big part of your counter, amongst a few other trend mistakes.
Why it’s bad for your wallet: You'll regret these within months, then spend more money reversing them. A lot of homeowners who install open shelving in small kitchens replace it with closed cabinets within 3 years because of dust and visual clutter.
The better approach: Choose based on how you live and styles you’re very comfortable with. If you hate visible storage, skip open shelves. If you cook elaborate meals, focus on functionality. Trends fade, after all.
Do This Before You Start Renovating Your Kitchen

Before you order anything, verify your plan works for how you actually cook.
Use Painter's Tape
Map your planned layout on your existing floor and walls with painter's tape. Mark the counter edges, appliance spots, and walkways at actual scale. Live with it for one week.
Cook your normal meals. Notice where you naturally set things down. See where you bump into taped lines. Feel whether 40-inch clearance is comfortable or cramped when you're standing there.
Stack Cardboard Boxes
Simulate appliances and islands with cardboard boxes stacked to counter height (36 inches standard, 42 inches for bar height). This shows whether your planned clearances actually feel right.
Walk through your cooking routine. Crouch to access imaginary lower cabinets. Reach for imaginary uppers. Open imaginary appliance doors. Carry a roasting pan from the "oven" to the "counter", and check if you have a safe landing space.
Get Everyone's Input
If multiple people use your kitchen, involve them in testing. Your partner might notice clearance issues you miss. Your kid might point out that the planned fridge location blocks their usual path.
What Different Renovations Cost

Cosmetic Refresh: ~$3,000-8,000
What you're doing:
- Paint cabinets: ~$2,000-3,500
- New countertops (laminate/butcher block): ~$800-1,500
- Backsplash: ~$600-1,200
- Under-cabinet lighting: ~$300-600
- New hardware: ~$150-300
Timeline: 2-3 weeks
Disruption: Minimal, kitchen usable most days
Mid-Range Renovation: ~$12,000-25,000
What you're doing:
- New stock cabinets: ~$5,000-10,000
- New countertops (quartz): ~$1,500-2,500
- New appliances: ~$2,500-5,000
- Backsplash: ~$800-1,500
- Flooring: ~$1,200-2,500
- Lighting upgrades: ~$800-1,500
- Electrical additions: ~$600-1,200
Timeline: 4-6 weeks
Disruption: High, you'll need a temporary setup
High-End Renovation: ~$25,000-45,000
What you're doing:
- Custom cabinets: ~$10,000-18,000
- Premium countertops (marble/quartzite): ~$3,000-5,000
- High-end appliances: ~$5,000-10,000
- Designer backsplash: ~$1,500-3,000
- Premium flooring: ~$2,500-4,000
- Complete lighting system: ~$1,500-2,500
- Layout changes: ~$2,000-5,000
Timeline: 6-10 weeks
Disruption: Very high, complete demo
See It Before You Spend

Ready to plan but unsure which changes deliver the best results?
Scan your kitchen with All Things Snug and test those renovations virtually before spending anything. See new countertops and pick the ones you love, compare white cabinets against gray in your actual space, move your fridge and see how it affects your workflow.
Test different setups, save your favorites, make decisions based on how changes look in your specific kitchen. Share your top choices with the community for feedback or contractors for accurate quotes.
Join our community to see real renovations with detailed budgets. Learn what other homeowners wish they'd done differently and which upgrades delivered the most value.
Join the waitlist here.


&media=https%3A%2F%2Fcdn.sanity.io%2Fimages%2Fqcm46niu%2Fproduction%2Ffbf5a3571fe052e1cf8819fafd053f94ae44d022-1920x1272.jpg)
