


Wednesday, Sep 25, 2024
How To Fix Your Poor Gaming Setup In 5 Easy Steps!
Updated: This post was substantially revised in June 2025 to reflect our latest platform capabilities and current interior design best practices.
We’ve all seen them: gaming setups that look like they’ve survived a tornado of energy drinks and tangled cables. Maybe yours is one of them. A poor gaming setup isn’t just an eyesore, it can ruin your focus, strain your body, and even tank your gameplay.
But don’t worry! Whether you’re battling lag on a folding table or squinting at a screen in a dark corner, we’ll help you transform your bad gaming setup into something so badass your friends won’t stop talking about it.
Why a Bad Gaming Setup Matters
Before we fix anything, you should understand the real effects of a poor gaming setup:
- Physical Strain: Neck, back, and wrist pain from incorrect monitor height or unsupportive chairs.
- Eye Fatigue: Squinting at glare or low-resolution screens leads to headaches and blurred vision.
- Performance Drop: Cluttered desks and tangled cables slow you down, costing precious seconds in competitive play.
- Mental Frustration: A chaotic space makes it hard to focus or feel motivated to log in.

The Worst Gaming Setups (And Why They Fail)
Before we fix your setup, let’s diagnose the problem. Here are common horrible gaming setup mistakes and their side effects:
- The Couch Potato Setup:
- How it looks: Gaming from a sofa with a laptop on your knees.
- Effects: Neck strain, overheating devices, and 10/10 clumsiness during boss fights.
- The Cable Chaos:
- How it looks: Wires sprawled like spaghetti across the floor.
- Effects: Tripping hazards, dust buildup, and a permanent fear of unplugging the wrong cord.
- The Dimly Lit Dungeon:
- How it looks: Gaming in a dark room with a blinding monitor.
- Effects: Eyestrain, migraines, and accidentally knocking over your water bottle.
- The “Budget” Battle Station:
- How it looks: A wobbly desk, a mismatched chair, and a monitor held up by textbooks.
- Effects: Back pain, shaky aim, and resentment toward your favourite streamer’s flawless rig.
In other words, a horrible gaming setup isn’t just a sore sight, it saps your comfort, endurance, and performance. We’ve all seen setups that look like these.
Sound familiar? Let’s fix it.

5 Steps to an Epic Gaming Setup
Step 1: Audit Your Setup (It’s Cringeworthy, But Why?)
First, face the truth. Take photos of your poor gaming setup from all angles. Notice:
- Ergonomic disasters: Is your monitor at eye level? Is your chair forcing you into a pretzel shape?
- Tech flaws: Is your keyboard sticky? Does your headset crackle like a campfire?
- Mood killers: Flickering lights, clutter, or a wall colour that screams “hospital waiting room”?
Step 2: Prioritize Ergonomics (Your Back Will Thank You)
A bad gaming setup often ignores basic ergonomics. Fix it with:
- A Chair Upgrade: You don’t need a $1,000 throne. Look for adjustable lumbar support and armrests (even second-hand!).
- Monitor Height: Prop your screen on books or a stand until the top aligns with your eyes.
- Wrist Relief: Add a $10 keyboard pad to avoid carpal tunnel.
Snug Tip: Check your local buy/sell groups for used ergonomic chairs; many office liquidations offer steals!
(Psst: Our upcoming app will allow you to try various setup ideas before you begin buying anything. Join the waitlist to beta-test!)
Step 3: Declutter and Organize (Bye-Bye, Cable Monsters)
Horrible gaming setups thrive in chaos. Tame yours with:
- Cable Management: Use zip ties, under-desk trays, or a $15 sleeve to bundle wires.
- Desk Layout: Keep only essentials on your desk. That half-eaten burrito? It doesn’t count.
- Storage Hacks: Repurpose shoeboxes for controllers or add floating shelves for gear.
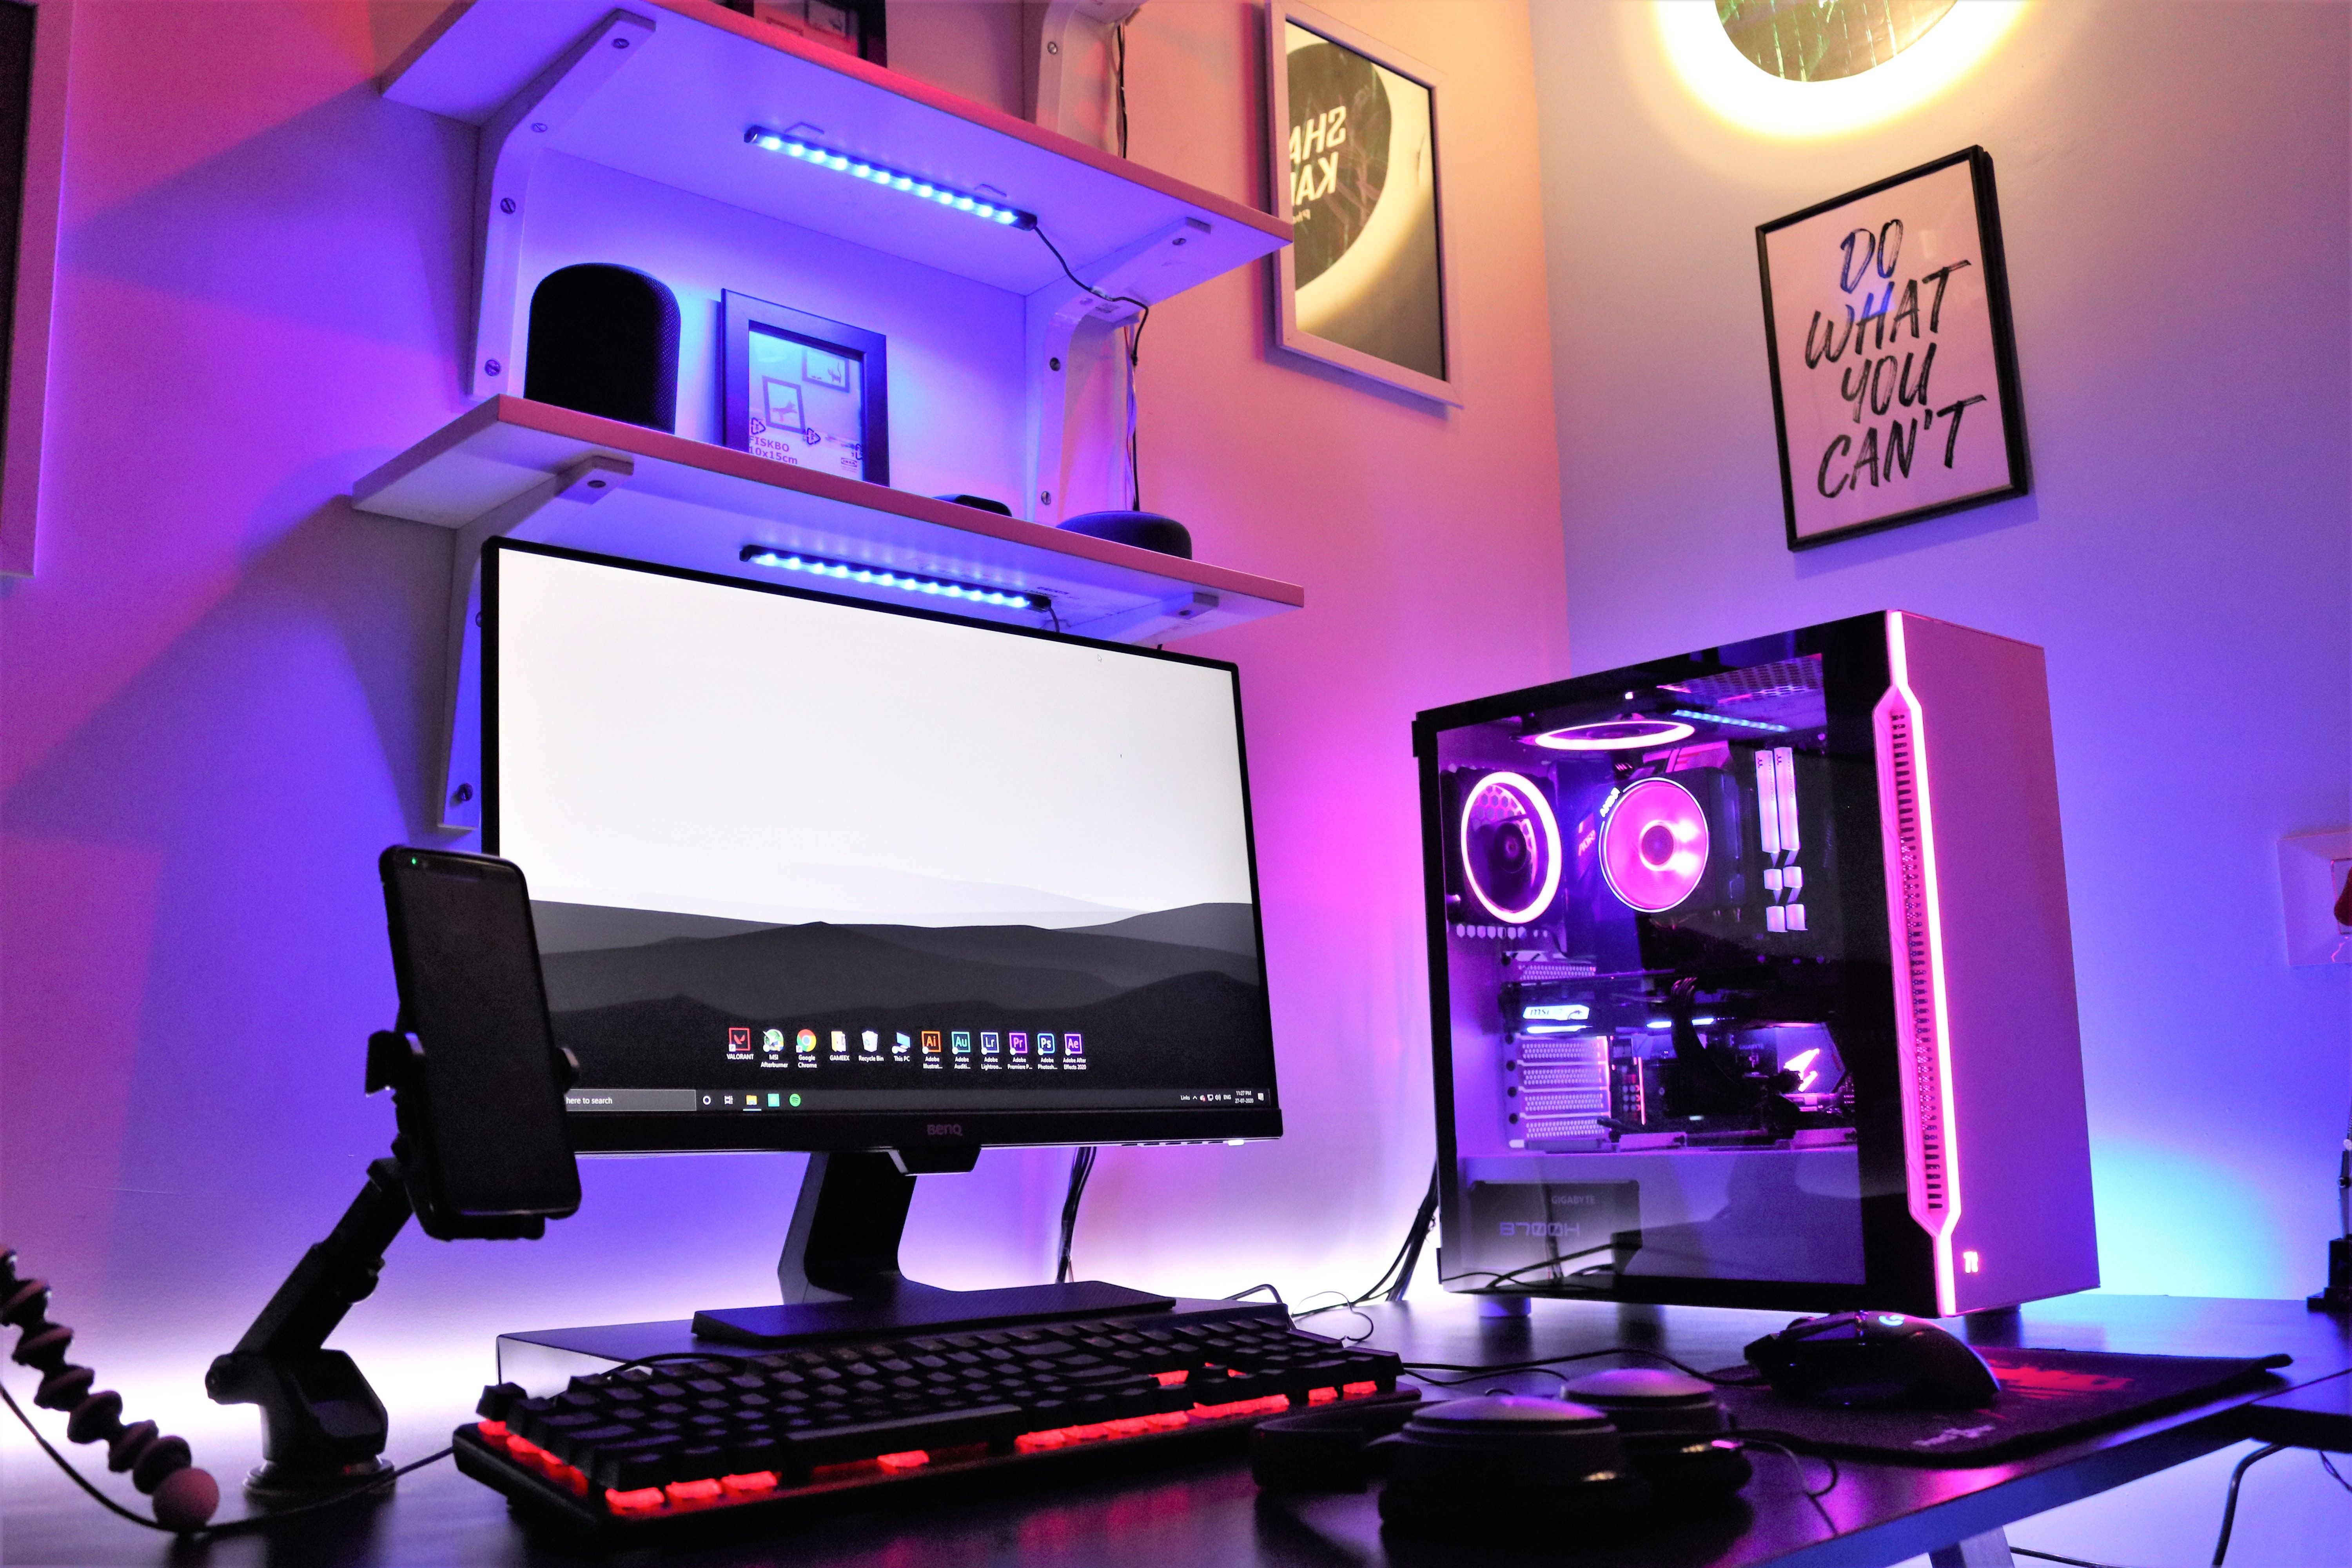
Step 4: Optimize for Lighting (No More Eyestrain)
Poor lighting turns any gaming setup into a headache factory. Fix it with:
- Ambient Lighting: Add a soft lamp behind your monitor to reduce glare.
- Bias Lighting: Stick LED strips ($8 - $20) behind your desk for a cozy glow.
- Natural Light: If possible, face your setup near a window (but avoid screen glare).
Snug Tip: Warm white LEDs (2700 K- 3000 K) are easier on the eyes than harsh blue tones.
Step 5: Upgrade Smartly (No Need to Go Broke)
You don’t need RGB everything. Focus on impactful, budget-friendly upgrades like:
- A Mouse & Keyboard: A $40 - $50 mechanical keyboard beats a soggy laptop keypad.
- A Headset: Look for refurbished models with noise cancellation.
- A Monitor Arm: Free up desk space and improve posture for under $30.

Wrapping Up
Fixing a horrible gaming setup isn’t about spending thousands, it’s about smart tweaks and honesty. Start small: tackle cables today, hunt for a chair tomorrow. And remember, every pro gamer started somewhere (yes, even on a cardboard box desk).
Ready to level up? Join our waitlist for early access to:
- Exclusive deals on ergonomic gear.
- DIY hacks from our Snug Squad community.
Follow these 5 easy steps and say goodbye to that bad gaming setup forever. You’ll notice better posture, sharper focus, and a more immersive experience, whether you’re raiding dungeons, streaming content, or speedrunning.
Your future self (and your teammates) will thank you.


