


Friday, Oct 24, 2025
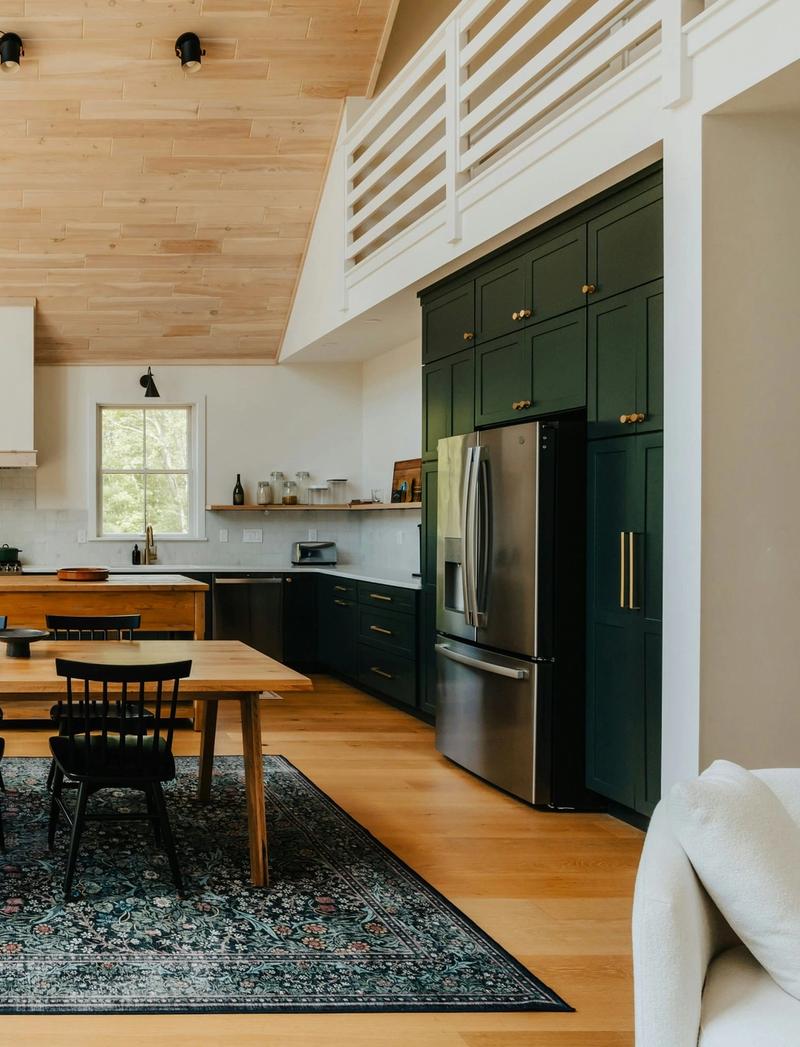
How to Paint Kitchen Cabinets: The Complete DIY Guide
Repainting kitchen cabinets often involves a lot of thought (which you've obviously done). We mean, why wouldn't it? You're about to seriously change how your kitchen looks and maybe feels.
Lucky for you, we'll walk you through everything you need so that you don't find yourself making a lot of mistakes other people make when they decide to give their cabinets a new color.
The Toolkit You’ll Need
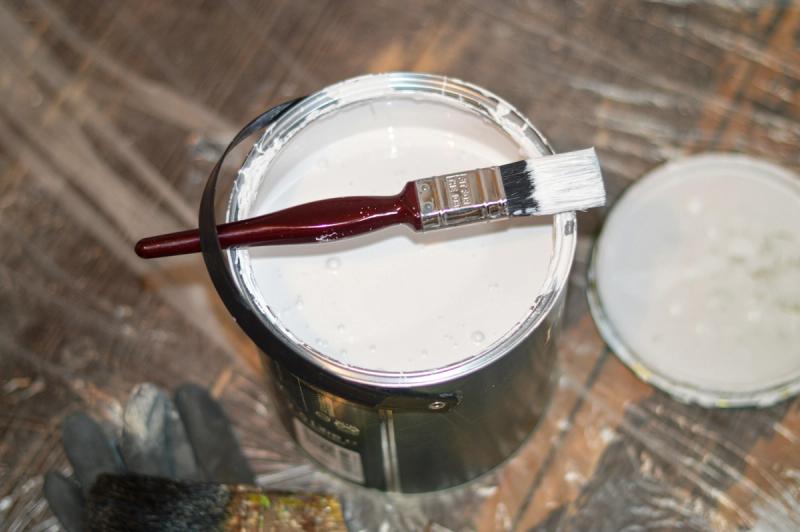
Paint (Choose One):
- Benjamin Moore Advance: This is a water-based alkyd that self-levels like oil paint, eliminating brush marks. Benjamin Moore specifically recommends this for cabinets because it "cures to a hard, furniture-like finish."
- Sherwin-Williams Emerald Urethane Trim Enamel: This paint is ultra-durable with excellent stain resistance. Professional painters favor this for high-traffic kitchens.
Primer:
- KILZ 3 Premium: Your high-hiding coverage that blocks stains and previous colors
- Zinsser B-I-N Shellac: This is best for blocking tannin bleed from wood like oak
Brushes & Rollers:
- 2.5" angled brush for edges and details
- 3-4" square brush for flat surfaces
- Microfiber rollers with 1/4" nap (don’t use foam rollers, those create an orange peel texture)
Sandpaper:
- 100-150 grit for initial surface prep
- 220 grit for smoothing between coats
Cleaning:
- TSP (Trisodium Phosphate) or degreaser substitute
- Kitchen grease blocks paint adhesion—this step isn't optional
Optional:
- Paint sprayer (only worth it for 20+ doors or if you have experience)
Before buying paint, use All Things Snug Interior Design Platform to test different whites and colors on your actual cabinets. Scan your kitchen and preview how each shade looks with your countertops and lighting.
How to Repaint Your Kitchen Cabinets in 8 Steps
Step 1: Remove and Label Current Hardware
Take off every door, drawer, and piece of hardware. This isn't optional; painting doors while hanging guarantees drips and uneven coverage.
Label each door with painter's tape and a number system, mark the corresponding cabinet frame with the same number in a spot that'll be hidden, and put all the hardware for each door in a labeled plastic bag.
Step 2: Deep Clean All Surfaces
This is the most-skipped step and the main reason paint peels within months, but it’s important because kitchen grease is invisible but deadly to paint adhesion.
Scrub every surface you'll paint with TSP or strong degreaser. Pay extra attention to areas near the stove and around handles where oil accumulates, then rinse the surfaces with clean water and let everything dry completely. If your rag still shows any grease, you're not done cleaning.
Step 3: Sand to Create Grip
You have to roughen the old finish so the primer can grip. Use 100-150 grit sandpaper to scuff every surface until the glossy shine disappears and wipe away all the dust with a tack cloth or damp rag. Any dust left behind will create bumps in your finish.
Step 4: Prime the Cabinet Thoroughly
Primer ensures adhesion and blocks any stains from bleeding through. Apply one even coat using a brush for details and edges, then immediately roll over flat surfaces with your microfiber roller. This brush-and-roll technique allows you to create smooth coverage without visible brush marks.
Let the primer dry for the time specified on the can (it’s usually 1-2 hours minimum), if the old color shows through or the surface feels uneven, apply a second light coat.
Step 5: Sand Between Coats
Once the primer is completely dry, lightly sand everything with 220 grit sandpaper. This knocks down any dust particles or texture, after that, wipe clean everything with a tack cloth (it feels tedious, we know, but it's what creates that factory-smooth finish).
Step 6: Apply First Paint Coat
Keep the coats thin (two thin coats always beat one thick coat). Thick paint drips, takes forever to dry, and never cures properly.
Use your brush for the detailed areas and corners and immediately roll over flat surfaces with your microfiber roller before the brush marks can set. Remember to paint with the wood grain, not across it. Let the paint dry for at least 1-2 hours (check your paint can for specific recoat times).
Step 7: Sand and Apply Second Coat
After the first coat is dry to touch (touch it to check), sand the cabinet again lightly with 220 grit, then wipe clean. Apply your second coat using the same brush-and-roll technique (maintain steady, even strokes and consistent lighting to catch any spots you miss).
Step 8: Cure Before Reinstalling
This separates results that last from those that don’t; your paint might feel dry in a few hours, but "dry" doesn’t mean "cured."
- Touch-dry: 24-48 hours (safe for careful handling and reinstallation)
- Full cure: 30 days for maximum hardness
During those 30 days, treat your cabinets gently. No harsh scrubbing, slamming doors, and banging pots against them. After the full cure, your paint will be as hard as factory enamel.
Use All Things Snug's interior design app to note each step and set reminders for dry times. It helps you stay organized when managing multiple doors and keeps the entire process on schedule.
How to Get a Smooth Kitchen Cabinet Finish
- The Brush-and-Roll Method: This mimics sprayer smoothness without the painting mess. To do it, brush paint onto edges and details, then immediately roll over the same area before the paint sets. The roller melds away brush marks while the self-leveling paint dries smooth.
- Paint Direction: Always follow the wood grain; cross-grain strokes create visible ridges that show even after drying.
- Multiple Door Management: Work in batches; paint fronts of all your doors, let them dry, then flip and paint the backs. Use painter's pyramids or nails through scrap wood to elevate the doors off your work surface for drying.
- Don’t Use Foam Rollers: Foam creates tiny air bubbles that leave orange peel texture. In contrast, microfiber holds more paint and lays down smoother coverage.
Repainting Already-Painted Cabinets
The process is mostly the same with a few extra considerations:
- Check the Adhesion First: Cut a small X with a utility knife in an inconspicuous spot, press painter's tape over it and pull quickly. If the paint lifts, the old finish is failing, and you'll need to sand more aggressively to remove loose paint.
- Sand More Thoroughly: You need to smooth out any old brush marks, drips, or texture. You can use 100 grit sandpaper (and take your time).
- Always Prime: Even if your new color is similar to the old one, a primer prevents the old paint from bleeding through and ensures proper adhesion.
- Oil vs. Latex Paint: Test if the existing paint is oil-based by rubbing a small area with denatured alcohol. If the paint comes off on your rag, it's latex. If it doesn’t, it's oil-based and you must use a bonding primer designed for that purpose.
Cabinet Painting Mistakes to Avoid
- Skipping the degreaser: Paint won't stick to kitchen grease, so expect peeling and chipping within months if you skip this step.
- Not sanding between coats: Your finish will feel rough and textured instead of smooth.
- Using foam rollers: They leave orange peel texture that no amount of sanding can fully fix.
- Rushing cure time: Installing hardware or scrubbing cabinets before a full cure causes permanent damage to the finish.
- Applying thick coats: Thick paint drips, sags, and takes days to cure properly (multiple thin coats always perform better).
- Painting doors while hanging: This guarantees drips, missed spots, and accidentally painted hinges.
Cabinet Paint Drying and Curing Timeline
| Stage | Time | What's Happening |
|---|---|---|
| Between primer and first coat | 1-2 hours | Primer sealed, ready for paint |
| Between paint coats | 1-2 hours | First layer settled, ready for second |
| Light handling/reinstallation | 24-48 hours | Dry to touch, you can carefully rehang |
| Full cure | 30 days | Paint reaches maximum hardness |
Curing means the paint's solvents have completely evaporated, creating a hard, scuff-resistant surface. During curing, treat cabinets gently and clean only with soft cloths and mild soap.
Track your curing progress using All Things Snug Interior Design App. Set reminders for when it's safe to deep clean or when you can stop babying your cabinets.
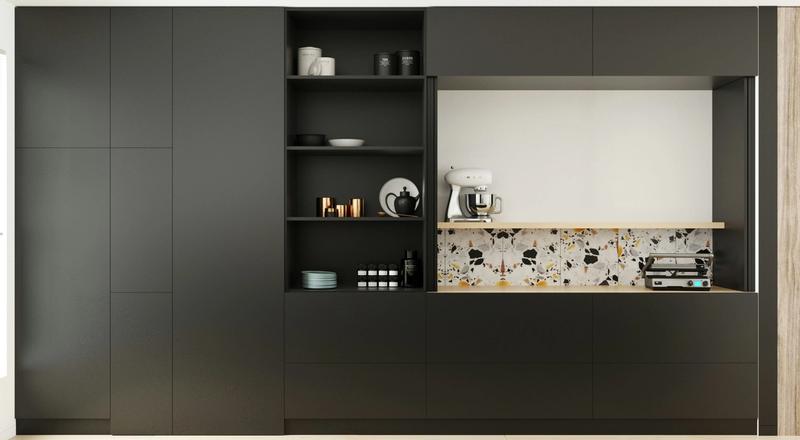
Paint Finish Options
- Satin: This soft sheen hides minor imperfections. It’s the most popular choice for cabinets (it balances durability with forgiving appearance).
- Semi-gloss: This provides more light reflection, is the easiest to clean, but shows every imperfection (Semi-gloss paint finish is best for homeowners who want maximum durability and don't mind visible brush marks).
- Matte: This paint finishes offers a modern look but shows wear faster. It’s only suitable for low-use cabinets or homeowners who embrace patina..
When to Use a Paint Sprayer
Worth it if:
- You have 20+ cabinet doors
- You want the smoothest possible finish
- You have experience with sprayers
- You're comfortable with extensive prep (covering everything in plastic sheeting)
Not worth it if:
- Small kitchen (under 10 cabinet doors)
- First time using a sprayer
- Can't dedicate a space for spray setup and drying
- Don't want to deal with overspray cleanup
The brush-and-roll method with quality self-leveling paint produces results that are nearly identical to spraying. Most DIYers get better results with a brush and roller than with a sprayer they don't know how to use properly.
Long-Term Durability and Maintenance
- Year 1: Flawless finish if you followed the process correctly
- Years 2-3: Minor touch-ups possible near high-use areas like handles
- Year 5+: May need to recoat high-traffic zones if the sheen dulls
- Touch-Up Strategy: Keep leftover paint labeled with the date and location. For small chips, lightly sand the damaged area, clean, and apply a thin touch-up coat. Let it cure fully before regular use.
- Do You Need a Topcoat? No. Benjamin Moore Advance and Sherwin-Williams Emerald are designed as complete systems. Adding a topcoat can actually reduce durability or create yellowing.
Frequently Asked Questions
Do I really need to remove the doors? Yes. Painting doors while hanging creates drips, uneven coverage, and painted hinges. The difference in final appearance is dramatic (and worth the extra effort).
Can I paint over laminate cabinets? Yes, but you must sand to roughen the surface and use a bonding primer designed for laminate. The smooth surface of laminate gives paint nothing to grip without proper prep.
How long does this project take? A standard kitchen is 5-7 days for one person:
- Day 1: Removal and cleaning
- Day 2: Sanding and priming
- Day 3: First paint coat
- Day 4: Second paint coat
- Days 5-7: Curing and careful reinstallation
Should I paint the inside of cabinets? Only if they're visible (glass-front cabinets or open shelving). Otherwise, skip it (it saves time and money with no visual benefit).
What if I already have chipping paint? Sand away all loose paint until you reach a stable finish. Clean, prime, and repaint following this guide. The chipping happened because of poor prep or wrong products (doing it correctly this time prevents repeat failure).
Painting your kitchen cabinets transforms more than just how your space looks; it changes how your kitchen feels every time you walk in. The process takes patience, but the payoff lasts for years.
Before you start, use All Things Snug to test paint colors in your actual space, track your project timeline with automatic reminders, and visualize different finish sheens. Plan it right from the beginning, and you'll love the results for the next decade.
Did you enjoy this read? Then you’ll love this guide on kitchen finishes and materials.


