


Monday, Oct 27, 2025
Should You Paint or Spray Your Cabinets?
Few DIY decisions create as much second-guessing as choosing between brush paint and spray for your kitchen cabinets. Many online forums like Reddit and Quora are filled with passionate arguments for both methods, leaving you more confused than confident. Some swear spraying is the only way to achieve professional results, others claim brushing delivers beautiful finishes without the fuss.
Actually, both methods work beautifully when matched to the right situation. Luke DiBlasi of DiBlasi Painting notes that "a brushed finish is actually preferred by many interior decorators, as it makes the cabinets seem custom as opposed to the factory-like finish that spraying offers."
In this guide, we break down the real-world differences in finish quality, cost, prep work, and time investment so you can make your choice with confidence.
(If you haven't worked through the cabinet prep process yet, read our complete guide to painting kitchen cabinets for detailed instructions on cleaning, sanding, and priming; the critical steps that determine success regardless of application method.)
The Side-by-Side Comparison
| Factor | Brush & Roller | Paint Sprayer |
|---|---|---|
| Finish Quality | Smooth with a subtle texture; hand-crafted appearance | Factory-smooth and completely seamless |
| Total Cost | ~$200-300 (paint, primer, quality brushes) | ~$350-500+ (paint, sprayer, extensive masking materials) |
| Prep Work | Moderate (clean, sand, mask cabinet edges) | Extensive (mask entire kitchen: floors, walls, appliances, counters) |
| Application Time | Slower (6-8 hours for a standard kitchen) | Faster (2-3 hours once you’ve set it up) |
| Total Project Time | 5-7 days with flexible scheduling | 5-7 days with intensive concentrated effort |
| Skill Level | Beginner-friendly, forgiving | Requires practice, technique-dependent |
| Best For | Small-medium kitchens, tight budgets, first-timers | Large kitchens, perfectionists, experienced DIYers |
Costs represent typical U.S. markets including materials
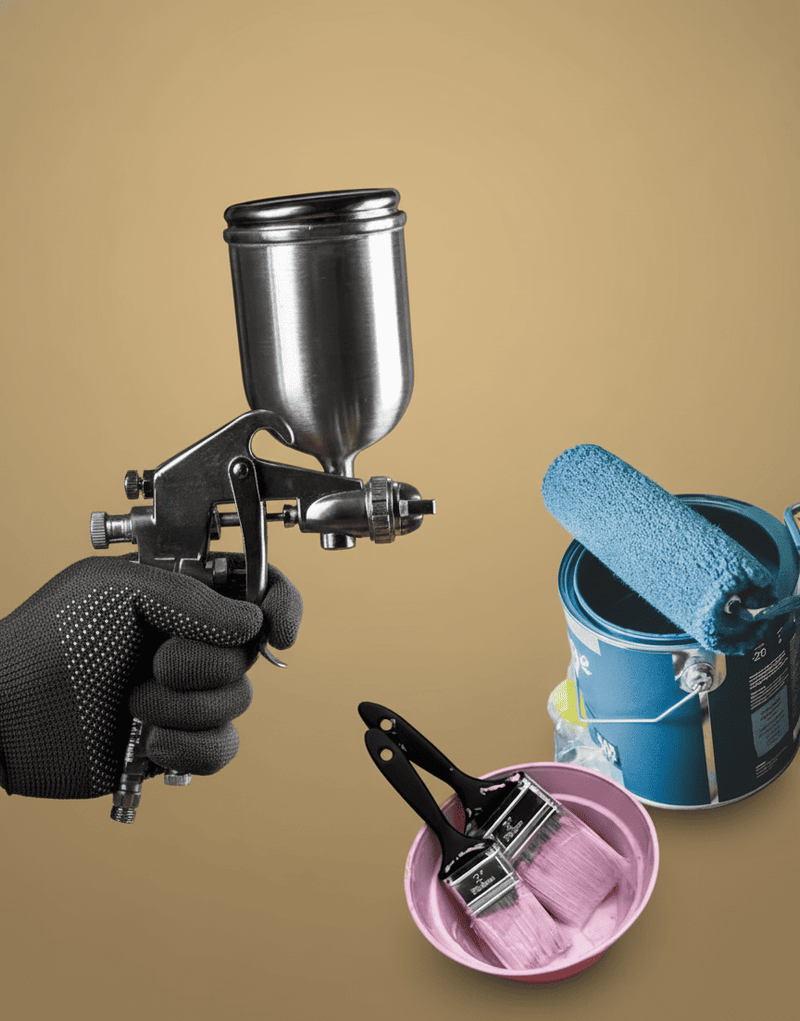
The Brush and Roller Method (Controlled and Accessible)
This is the champion of everyday DIYers. With proper technique, you can achieve a beautiful, durable finish that looks professional.
What the Finish Looks Like
A brushed finish has subtle directional texture (soft evidence of the hand-painting process). In traditional or farmhouse kitchens, this slight variation adds warmth and character, as the finish reads as custom work instead of mass-produced cabinetry.
Under direct light, you might see faint brush marks, but from normal viewing distance (3-4 feet), the surface looks smooth and well-executed. This spells the difference between "handmade" and "factory-made”, even though both are beautiful.
Use The Brush-and-Roll Technique for Smoothness
- Use a quality 2.5" angled brush for edges and details
- Immediately follow with a microfiber roller (1/4" nap) on flat surfaces
- Work quickly while paint is wet, so the roller melds away brush strokes
- Always paint with the wood grain direction
- Apply two thin coats, sanding lightly with 220-grit between coats
Cost Breakdown
The Tools You’ll Need: ~$30-50
- Quality angled brush
- Microfiber rollers (never foam; foam creates orange peel texture)
- Paint tray and liners
The Materials: ~$150-250
- Cabinet paint
- Primer
- Sandpaper (100-150 grit and 220 grit)
- TSP cleaner
- Painter's tape
Potential cost for the total project: ~$200-300
Time Investment
| Task | Time Required |
|---|---|
| Prep and cleaning | 3-4 hours |
| Priming | 4-6 hours (including dry time) |
| First paint coat | 3-4 hours |
| Second paint coat | 3-4 hours |
| The total time spread over | 5-7 days (flexible scheduling) |
Tip: You can work a few hours one evening, let everything dry, and continue the next day. Your kitchen stays partially functional throughout.
Choose brush and roller if you're:
- Working on your first cabinet painting project
- Dealing with a small-to-medium kitchen (under 15 cabinet doors)
- On a tight budget (under $300 total)
- Unable to seal off your kitchen for extensive prep
- Painting cabinets with visible wood grain where texture adds character
- Living in a rental or temporary home
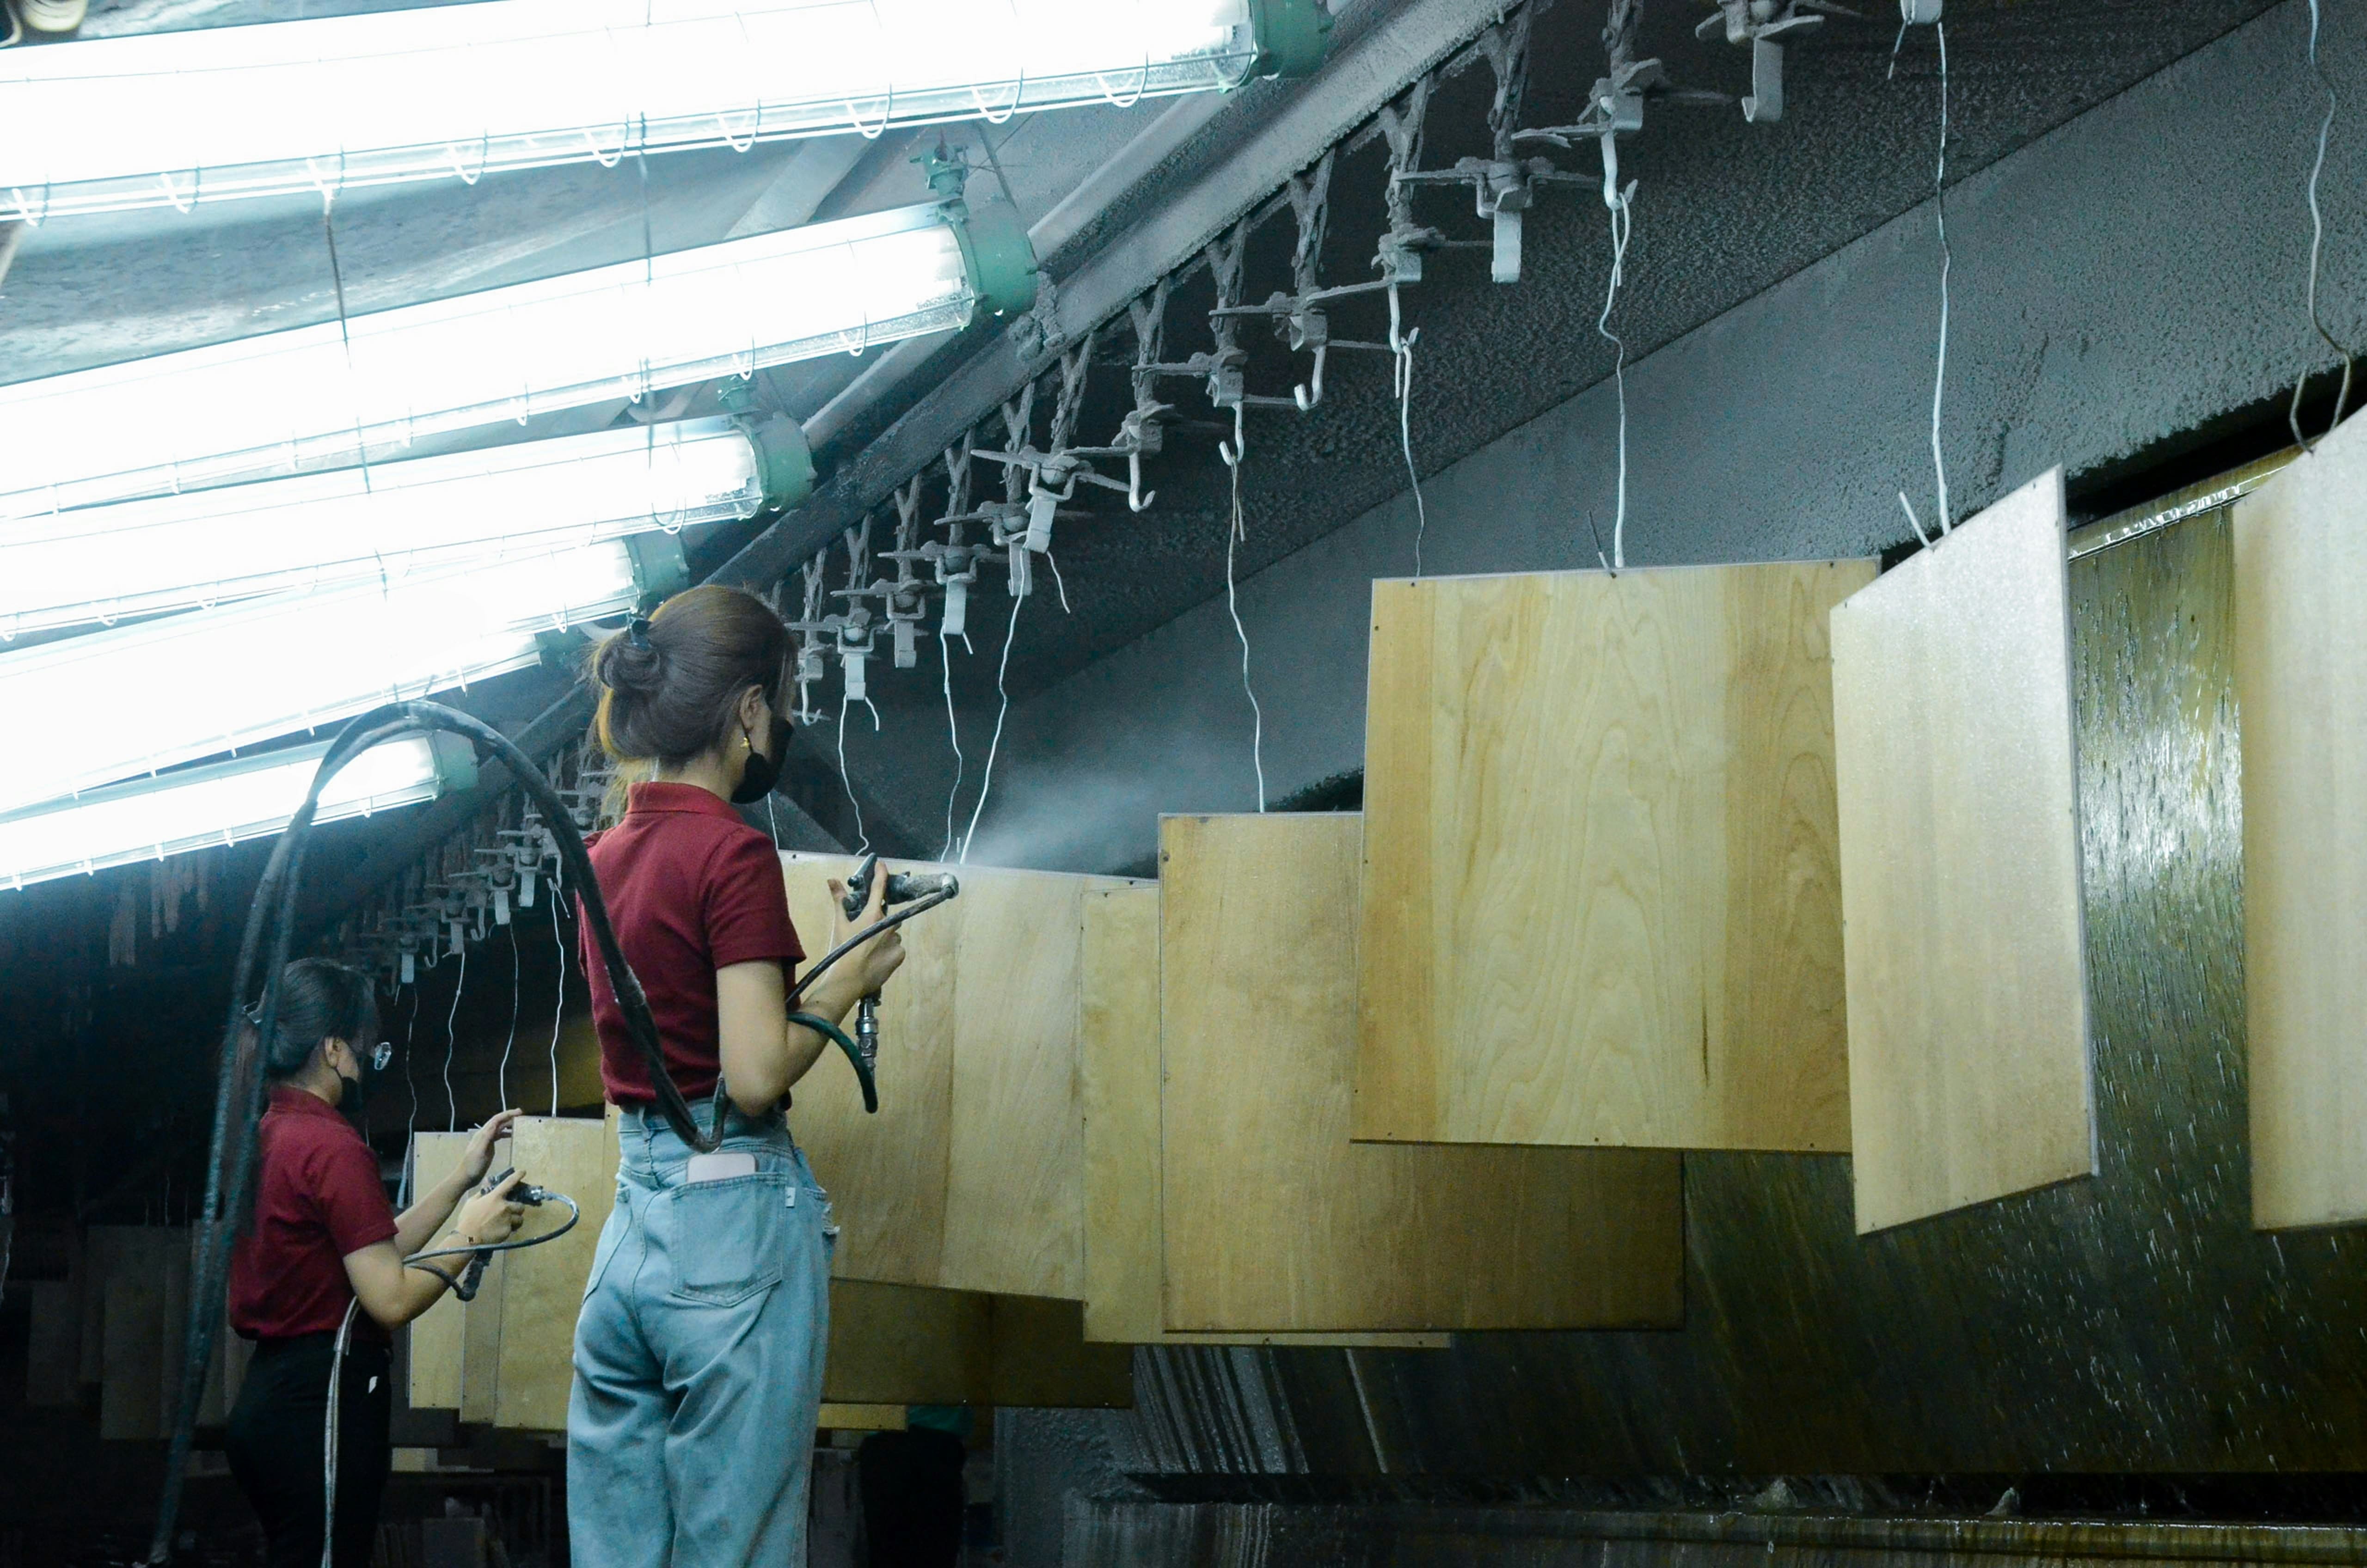
The Spray Method for Factory-Smooth Perfection

Spraying delivers that magazine-cover finish, completely smooth and uniform sheen, with no visible application marks. But it demands significant upfront investment in equipment, skill development, and preparation.
What the Finish Looks Like
A sprayed finish is flawless. The paint atomizes into fine particles that settle uniformly, creating glass-smooth coverage (you won’t notice any brush marks or texture variation). In modern or minimalist kitchens with flat-panel doors, this perfection shows beautifully.
The downside is that sprayed finishes show every imperfection in the underlying surface. You need perfect prep, or any dents, scratches, or uneven areas will be visible through that smooth finish.
You should understand that preparation is 75% of the work. Overspray travels farther than you expect, settling as fine mist on every exposed surface. You must mask:
- All countertops and backsplashes
- Floors (entire kitchen)
- Appliances (fridge, stove, dishwasher)
- Windows and light fixtures
- Adjacent walls and doorways
- Inside cabinets if you're only painting frames
Expect to spend 6-8 hours on masking alone for a standard kitchen.
Sprayer Types for Cabinets
HVLP (High Volume, Low Pressure)
- Examples: Wagner Flexio, Fuji Spray systems
- Best for: Most DIY cabinet projects
- Pros: Precise control, less overspray, smoother finish
- Cons: Often requires thinning paint, slower coverage
- Cost: ~$150-400 for DIY models
Airless Sprayers
- Examples: Graco Magnum series
- Best for: Large projects, professional use
- Pros: Handles unthinned paint, very fast coverage
- Cons: More overspray, steeper learning curve
- Cost: ~$300-600 for entry-level models
For most homeowners painting cabinets, HVLP wins. Control matters more than speed when you're working with detailed cabinet surfaces.
Cost Breakdown
Equipment: ~$150-400 (purchase) or ~$50-100/day (rental)
Materials: ~$200-300
- Cabinet paint
- Primer
- Extensive masking supplies (plastic sheeting, paper, tape)
- Sandpaper
- TSP cleaner
- Respirator and safety gear
Total project should cost approximately $350-600
Time Investment
| Task | Time Required |
|---|---|
| Masking and setup | 6-8 hours |
| Spraying primer and paint | 2-3 hours |
| Cleanup and unmasking | 2-3 hours |
| The total time spread over | 2-3 intensive days |
The actual painting is lightning-fast (everything else takes longer than brushing).
Choose spray if you're:
- Painting a large kitchen (20+ cabinet doors)
- Demanding factory-perfect finish quality
- Comfortable with power tools and learning new techniques
- Able to completely seal off your kitchen for 2-3 days
- Planning future projects that justify the equipment investment
- Working with flat-panel doors where perfection really shows
The Hybrid Approach As A Smart Middle Ground
Many professional painters use this method to maximize efficiency while minimizing hassle:
- Spray the doors and drawer fronts in a garage or outdoor setup
- Brush and roll the cabinet boxes that stay attached to walls
You get a factory-smooth finish where it matters most; on the highly visible doors that people touch and examine. Meanwhile, you avoid the nightmare of masking your entire kitchen to spray fixed cabinet boxes.
The cabinet boxes (frames) get a beautiful brushed finish that's virtually indistinguishable from sprayed when installed. Nobody examines your cabinet frames from 6 inches away.
Note: If you choose spraying, ensure proper ventilation, overspray containment, and wear a respirator or mask as paint mist can linger.
How to Do The Hybrid Method Process
- Remove all your cabinet doors and drawer fronts
- Set up a spray station in your garage with doors on painter's pyramids
- Spray the doors with HVLP sprayer for perfect finish
- Inside your kitchen, brush and roll the cabinet boxes with minimal masking
- Reinstall sprayed doors onto brushed boxes
This should cost $350-450 (splits the difference) and take about 5-6 days (reasonable pace). At the end, you’ll find yourself looking at a professional finish (only if you do it right). This approach makes sense for homeowners who want premium results without turning cabinet painting into a week-long ordeal.
How to Select Your Paint
Benjamin Moore Advance
- Water-based alkyd (easy cleanup, oil-paint performance)
- Excellent self-leveling properties help minimize brush marks
- Cures to hard, furniture-like finish
- Works beautifully with both brush and spray
Sherwin-Williams Emerald Urethane Trim Enamel
- Hybrid formula combines water cleanup with oil durability
- Exceptional adhesion and stain resistance
- Smooth application with either method
- Slightly faster drying than Advance
Never use standard wall paint on cabinets, because cabinet paints cure harder and resist daily wear (touching, grease splatters, moisture) and cleaning products that would damage regular paint.
Common Mistakes by Method
Brush and Roller Mistakes
- Using foam rollers creates an orange peel texture that's difficult to sand smooth. Always use microfiber rollers.
- Applying thick coats causes drips, extends drying time, and prevents proper curing. Two thin coats always beat one thick coat.
- Not sanding between coats results in rough, textured finish instead of smooth surface.
- Skipping the degreasing step will cause the paint not to adhere properly to greasy kitchen surfaces (you can expect peeling within months).
Spray Method Mistakes
- Inadequate masking: The overspray settles everywhere, and you might find fine paint mist on surfaces 15 feet away.
- Wrong nozzle tip size: Having a nozzle tip that’s too large will create runs and drips; having one that’s too small will take forever. Follow the sprayer manual recommendations for your cabinet paint.
- Not thinning paint (for HVLP) results in sputtering, uneven coverage, and clogged sprayer.
- Spraying too close or too fast creates runs, drips, and uneven sheen. Maintain 6-8 inches distance with steady passes.
Your cabinet transformation changes more than just your kitchen's color. It changes how the space feels every time you walk in. So, choose the method that fits your comfort level and situation, prepare thoroughly, and you'll create results you're proud of for years to come.


